Ozwell AI - Encounter Integrations
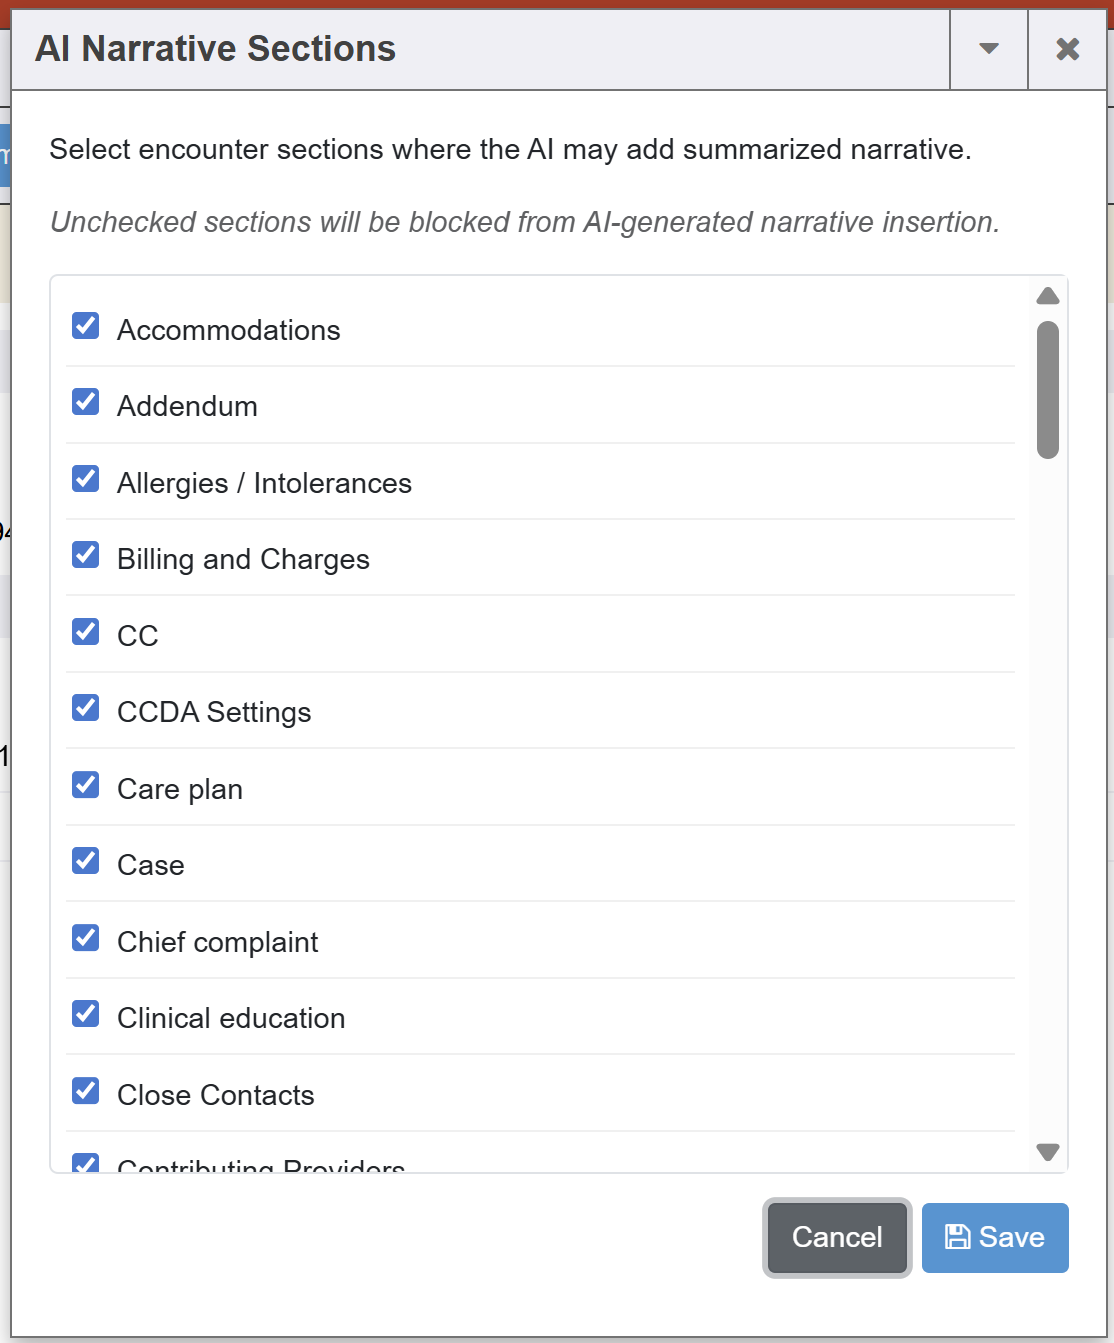
Within Ozwell AI, there is a feature called Encounter Integrations. This feature allows a user to determine which narrative sections will be enabled for AI. With Ambient Scribe, the exam can be recorded and Ozwell AI will transcribe within those specifically enabled narrative sections. Custom instructions can be used to ensure compliance with legal and/or company standards (e.g., consent to record).
Utilizing Ozwell AI Encounter Integrations
When configuring Ozwell AI, it is important to remember that the configuration is system-wide and not template specific or user specific. For V1, configuration is limited to our internal team and all narrative sections should be enabled. The following steps outline how to use Encounter Integrations:
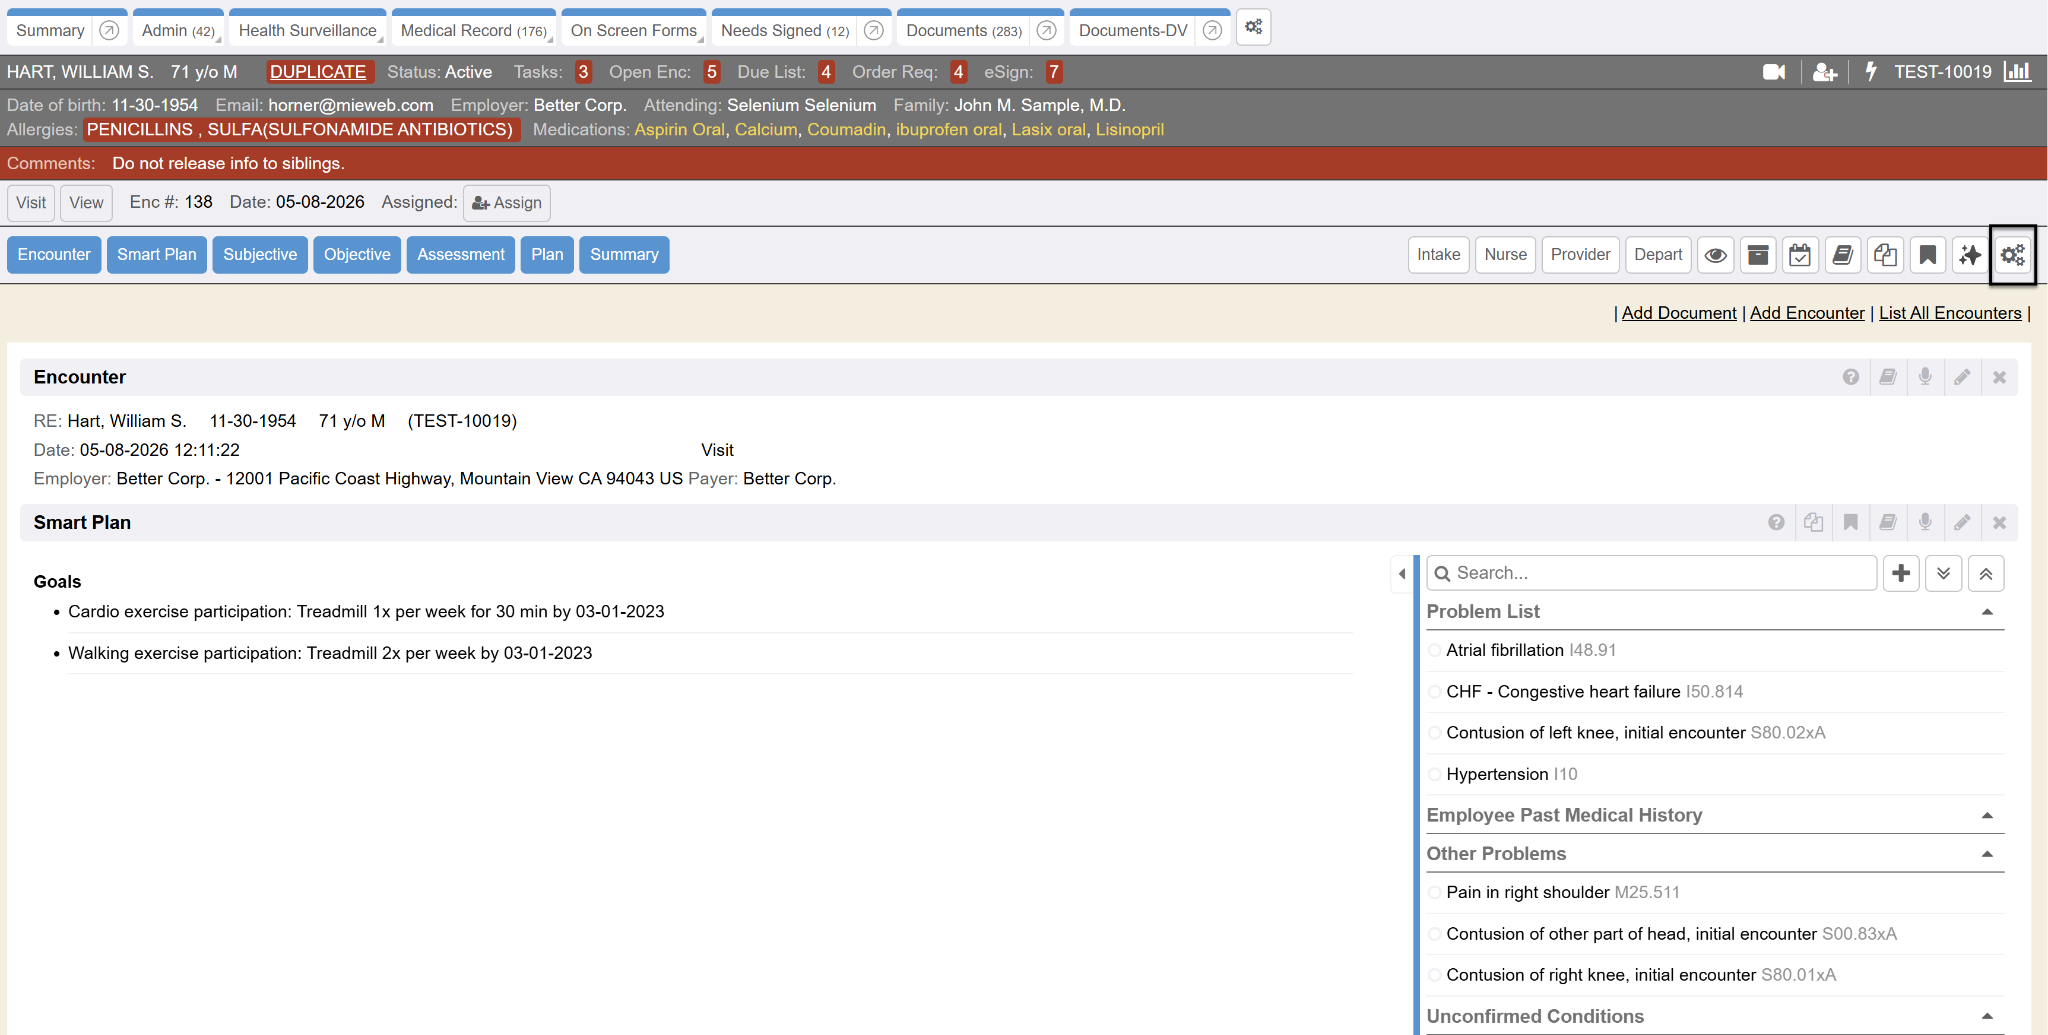
- From an encounter, click the Tools button (the gears icon) on the far right-hand side of the screen
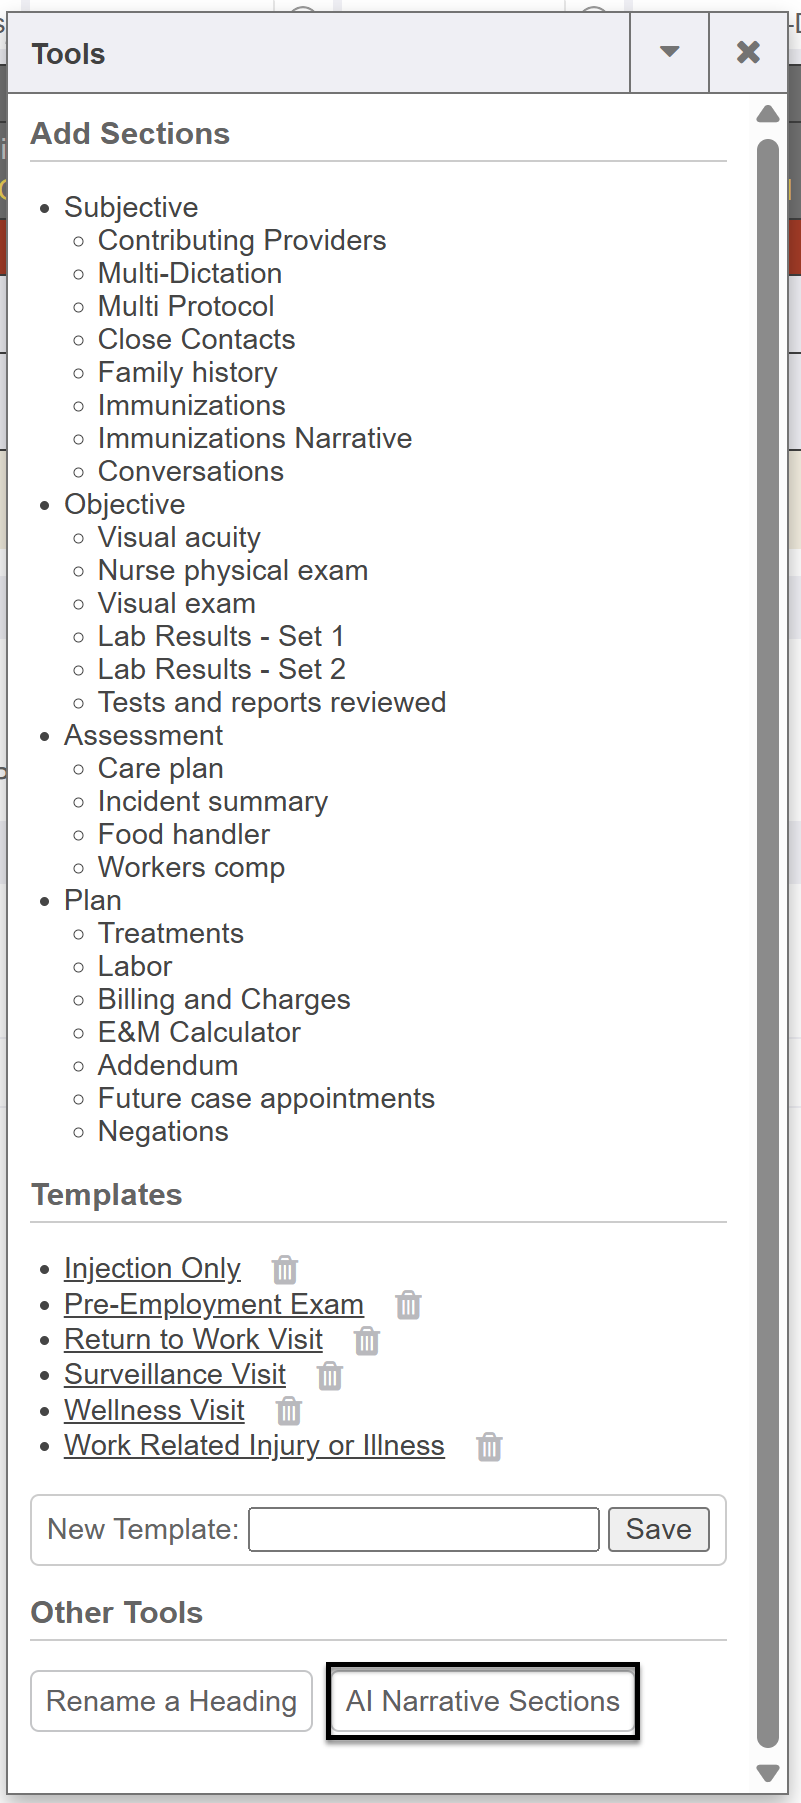
- Click on the AI Narrative Sections button
- Ensure all sections are checked for V1 and click the Save button when complete
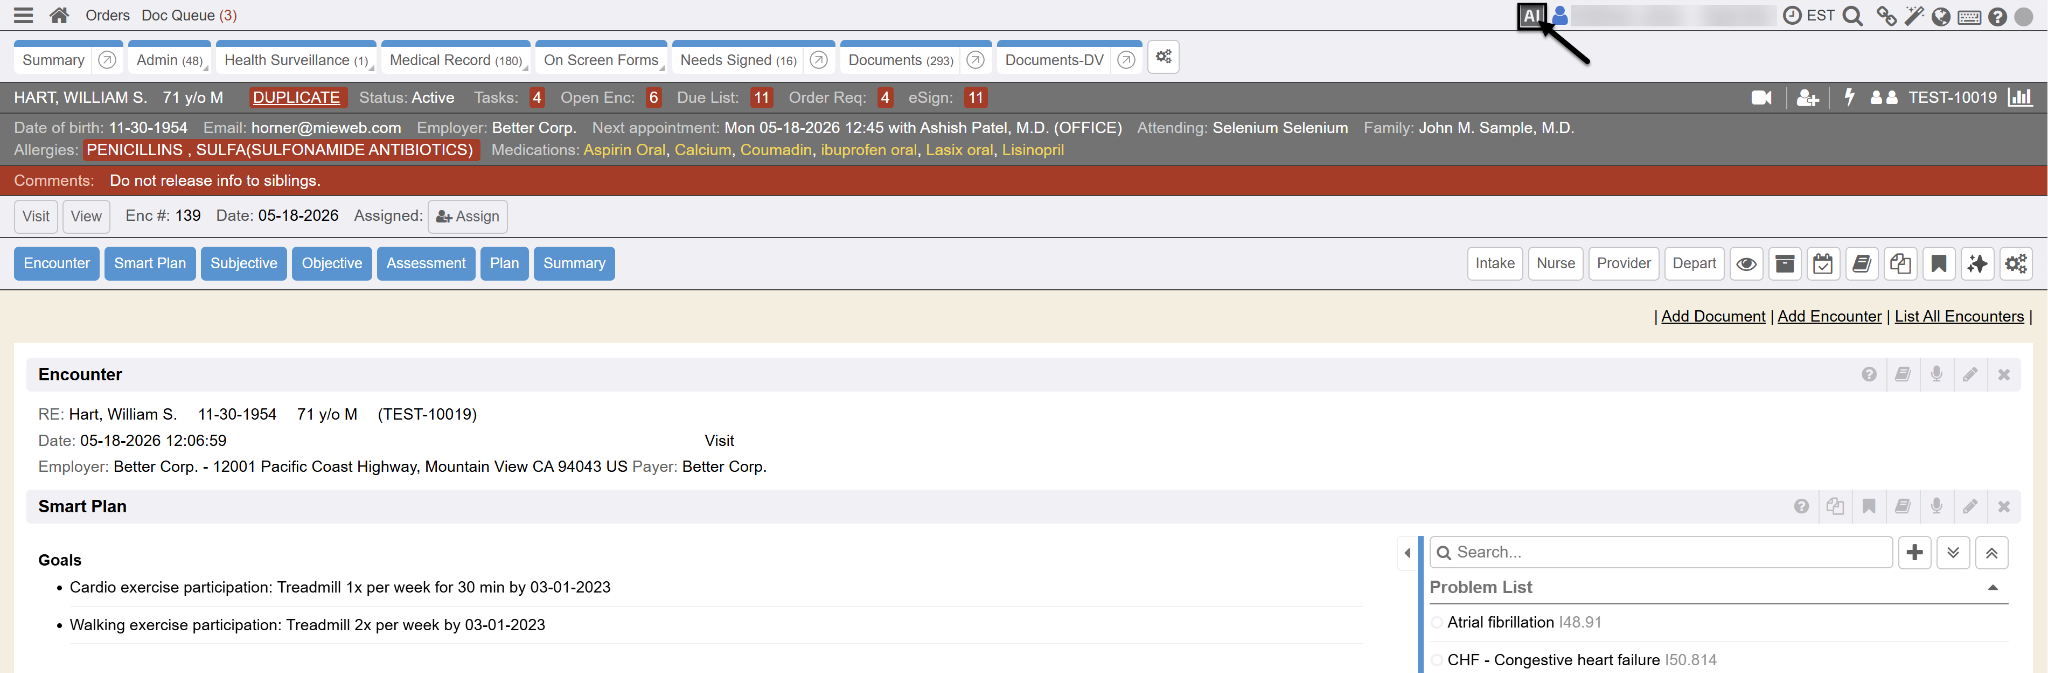
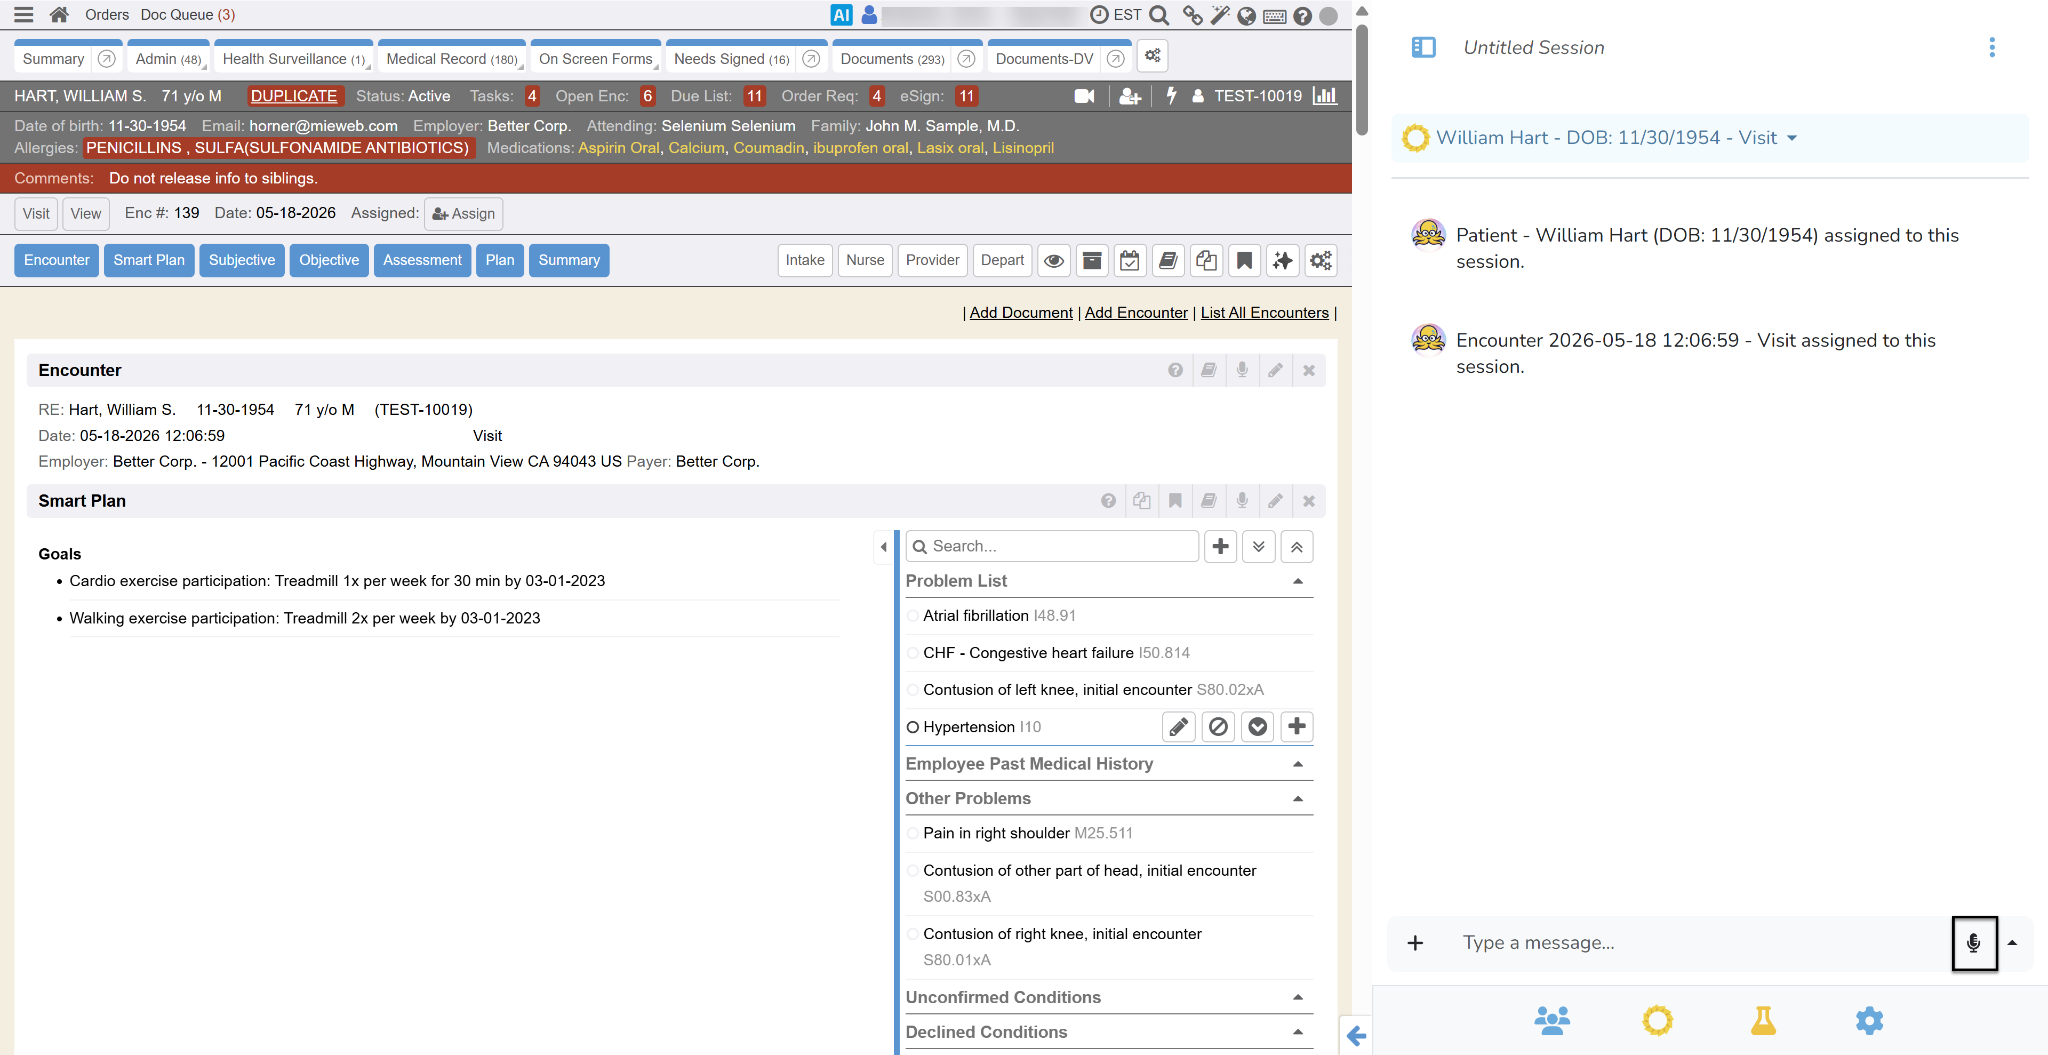
- Click on the AI button at the top of the screen. Ozwell AI will create a new session and link it to the Encounter.
- Start an Ambient session by clicking on the Microphone icon to enable voice input. Microphone permissions may be required.
- Conduct the exam as normal.
- Once the exam is complete, click the microphone to complete the recording.
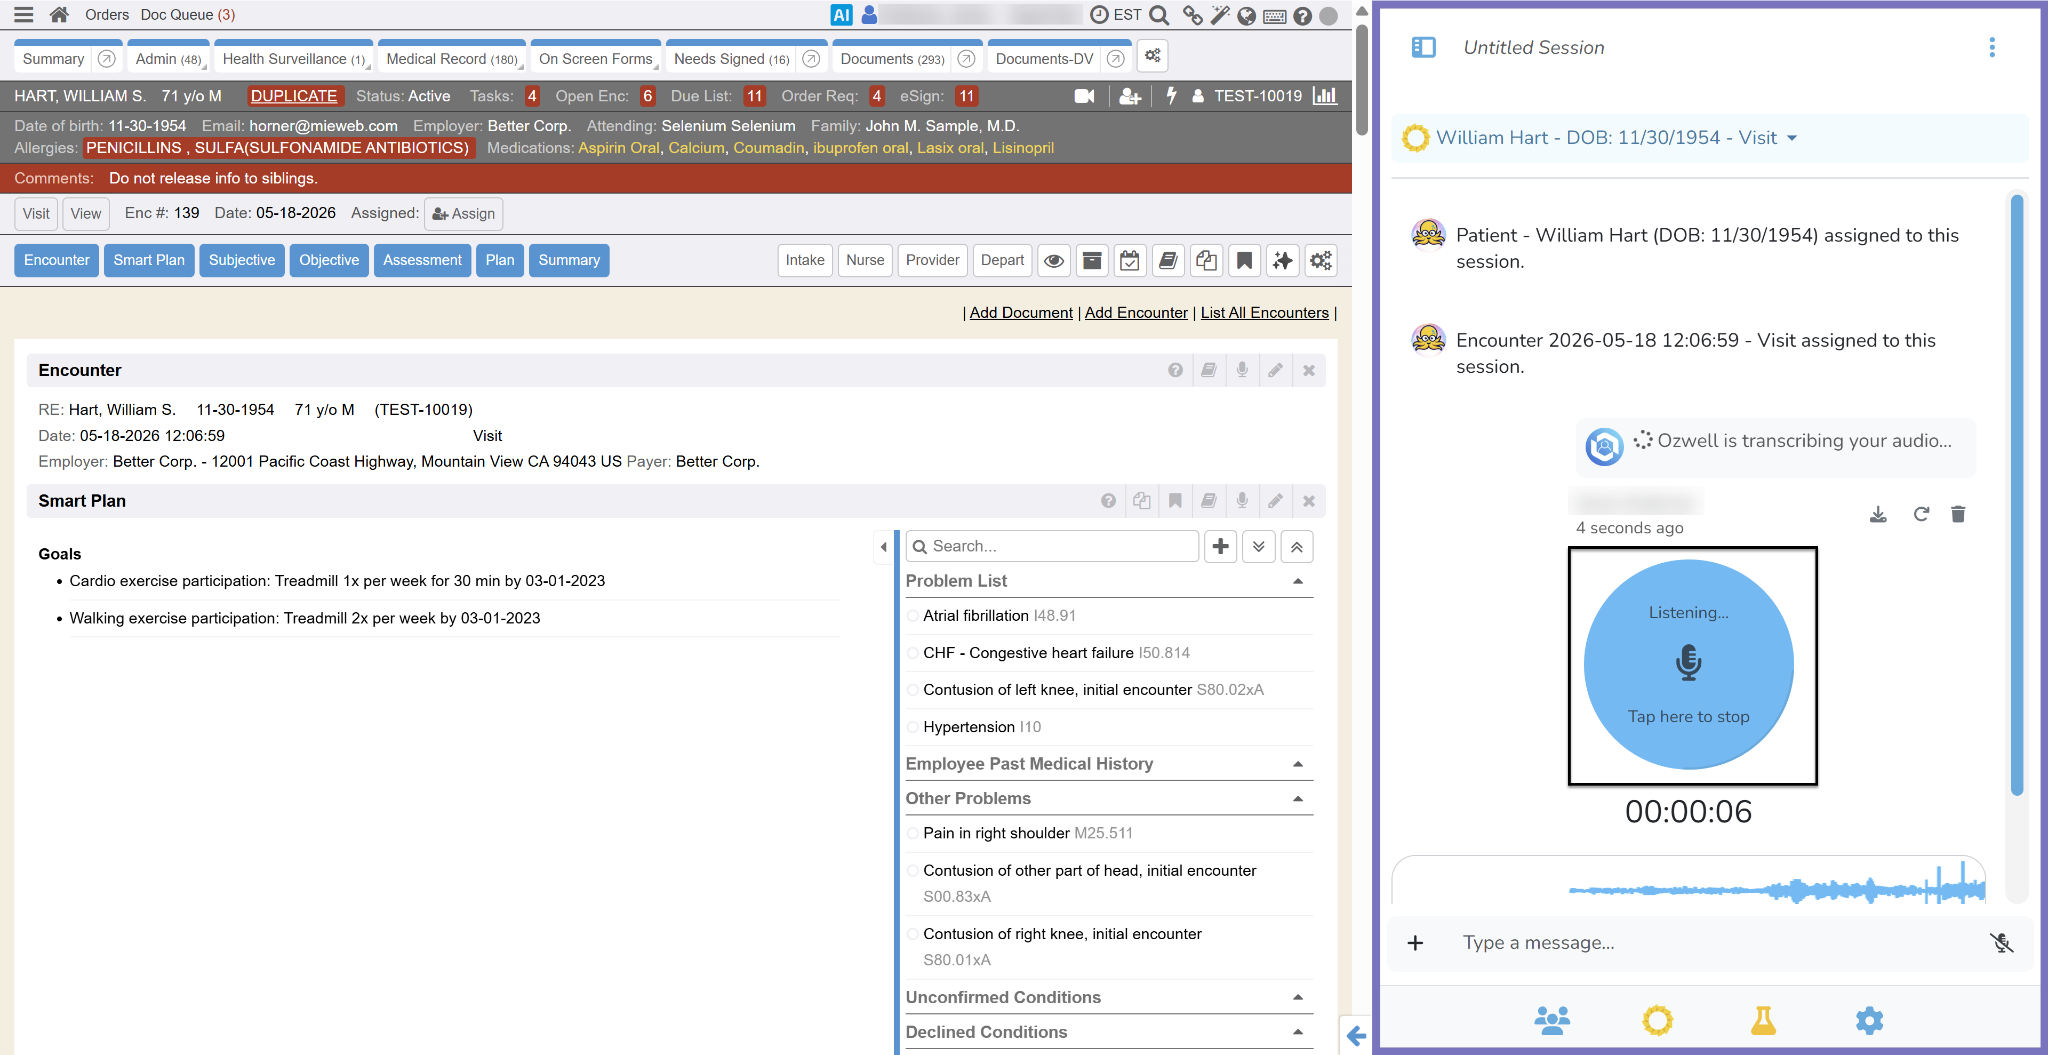
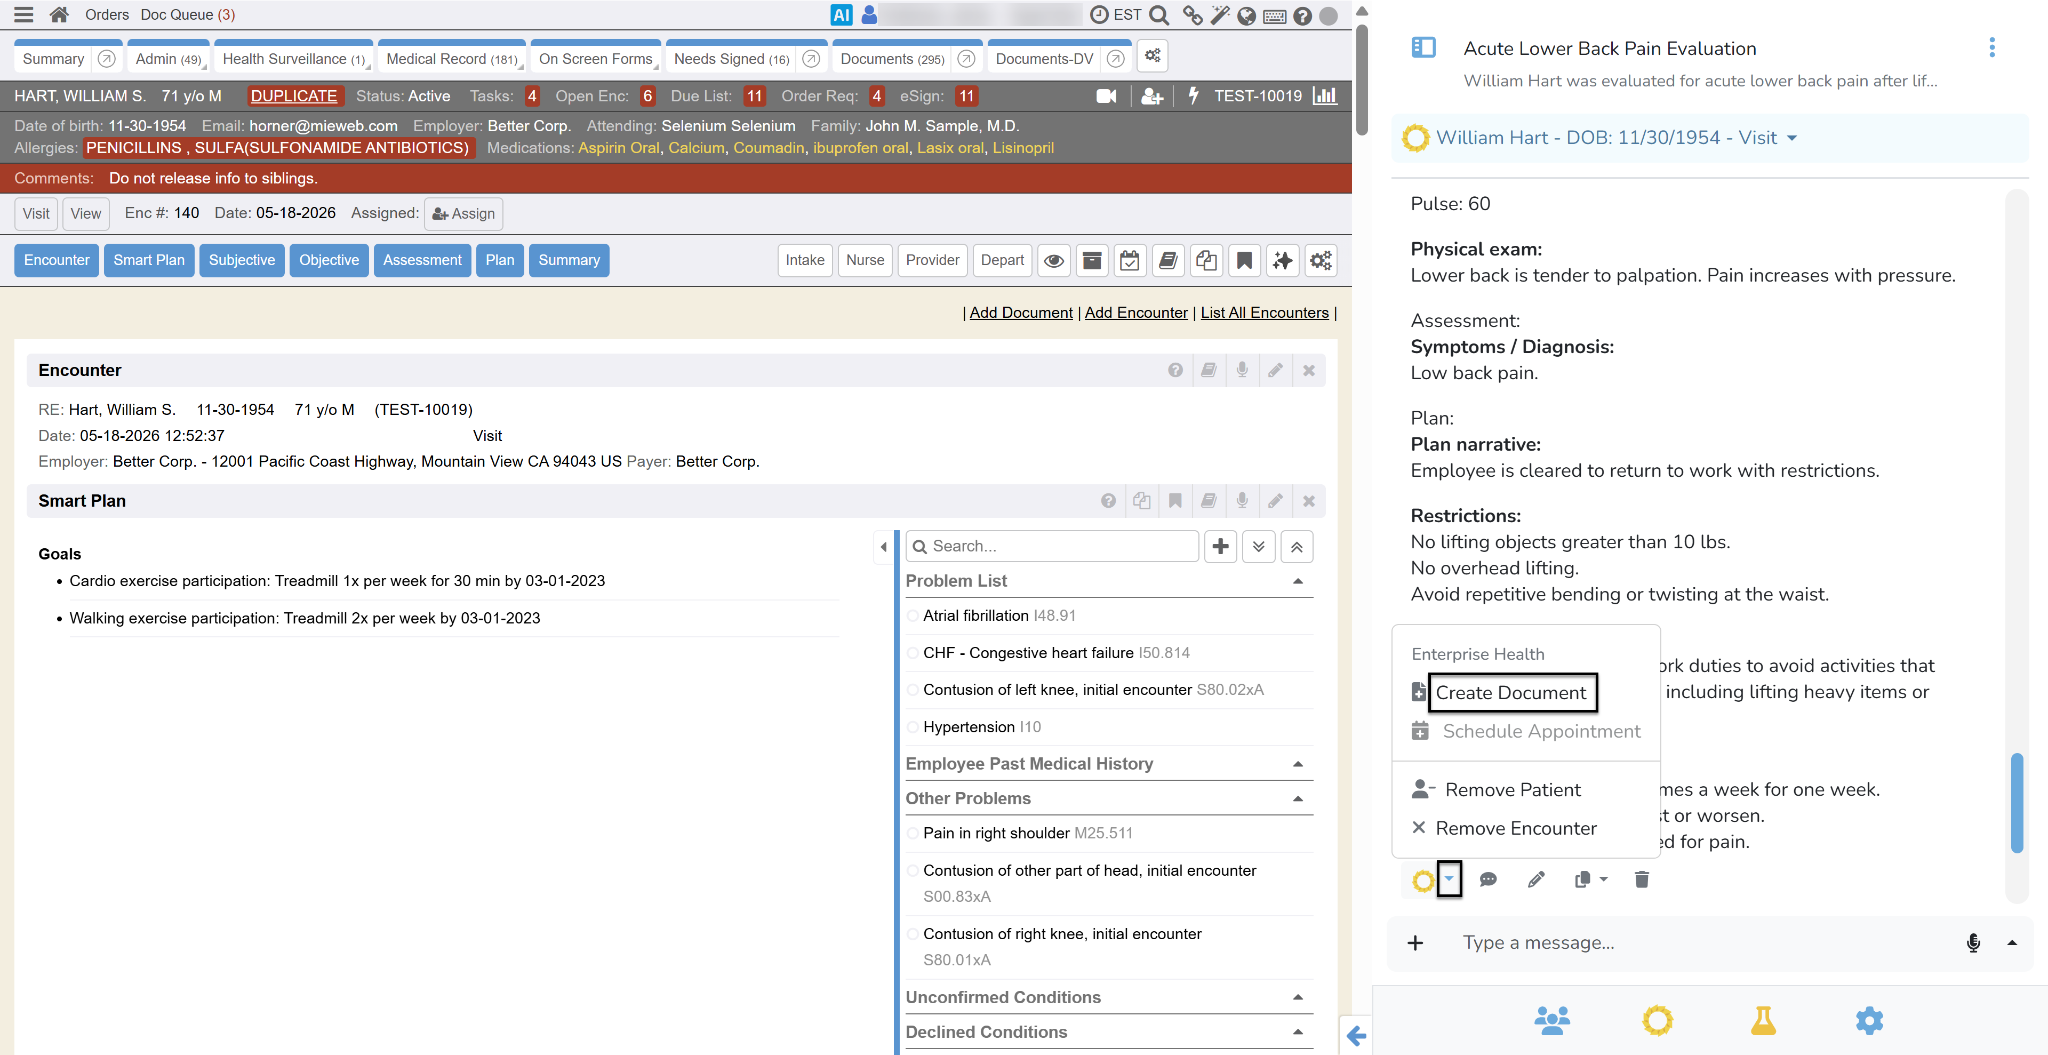
- Ozwell AI will transcribe the conversation and generate documents (e.g., Work Status Reports) based on the custom instructions.
- Review the generated content. Irrelevant information is typically filtered out.
- Ozwell AI may include reminders (e.g., consent to record) if specified in your custom instructions.
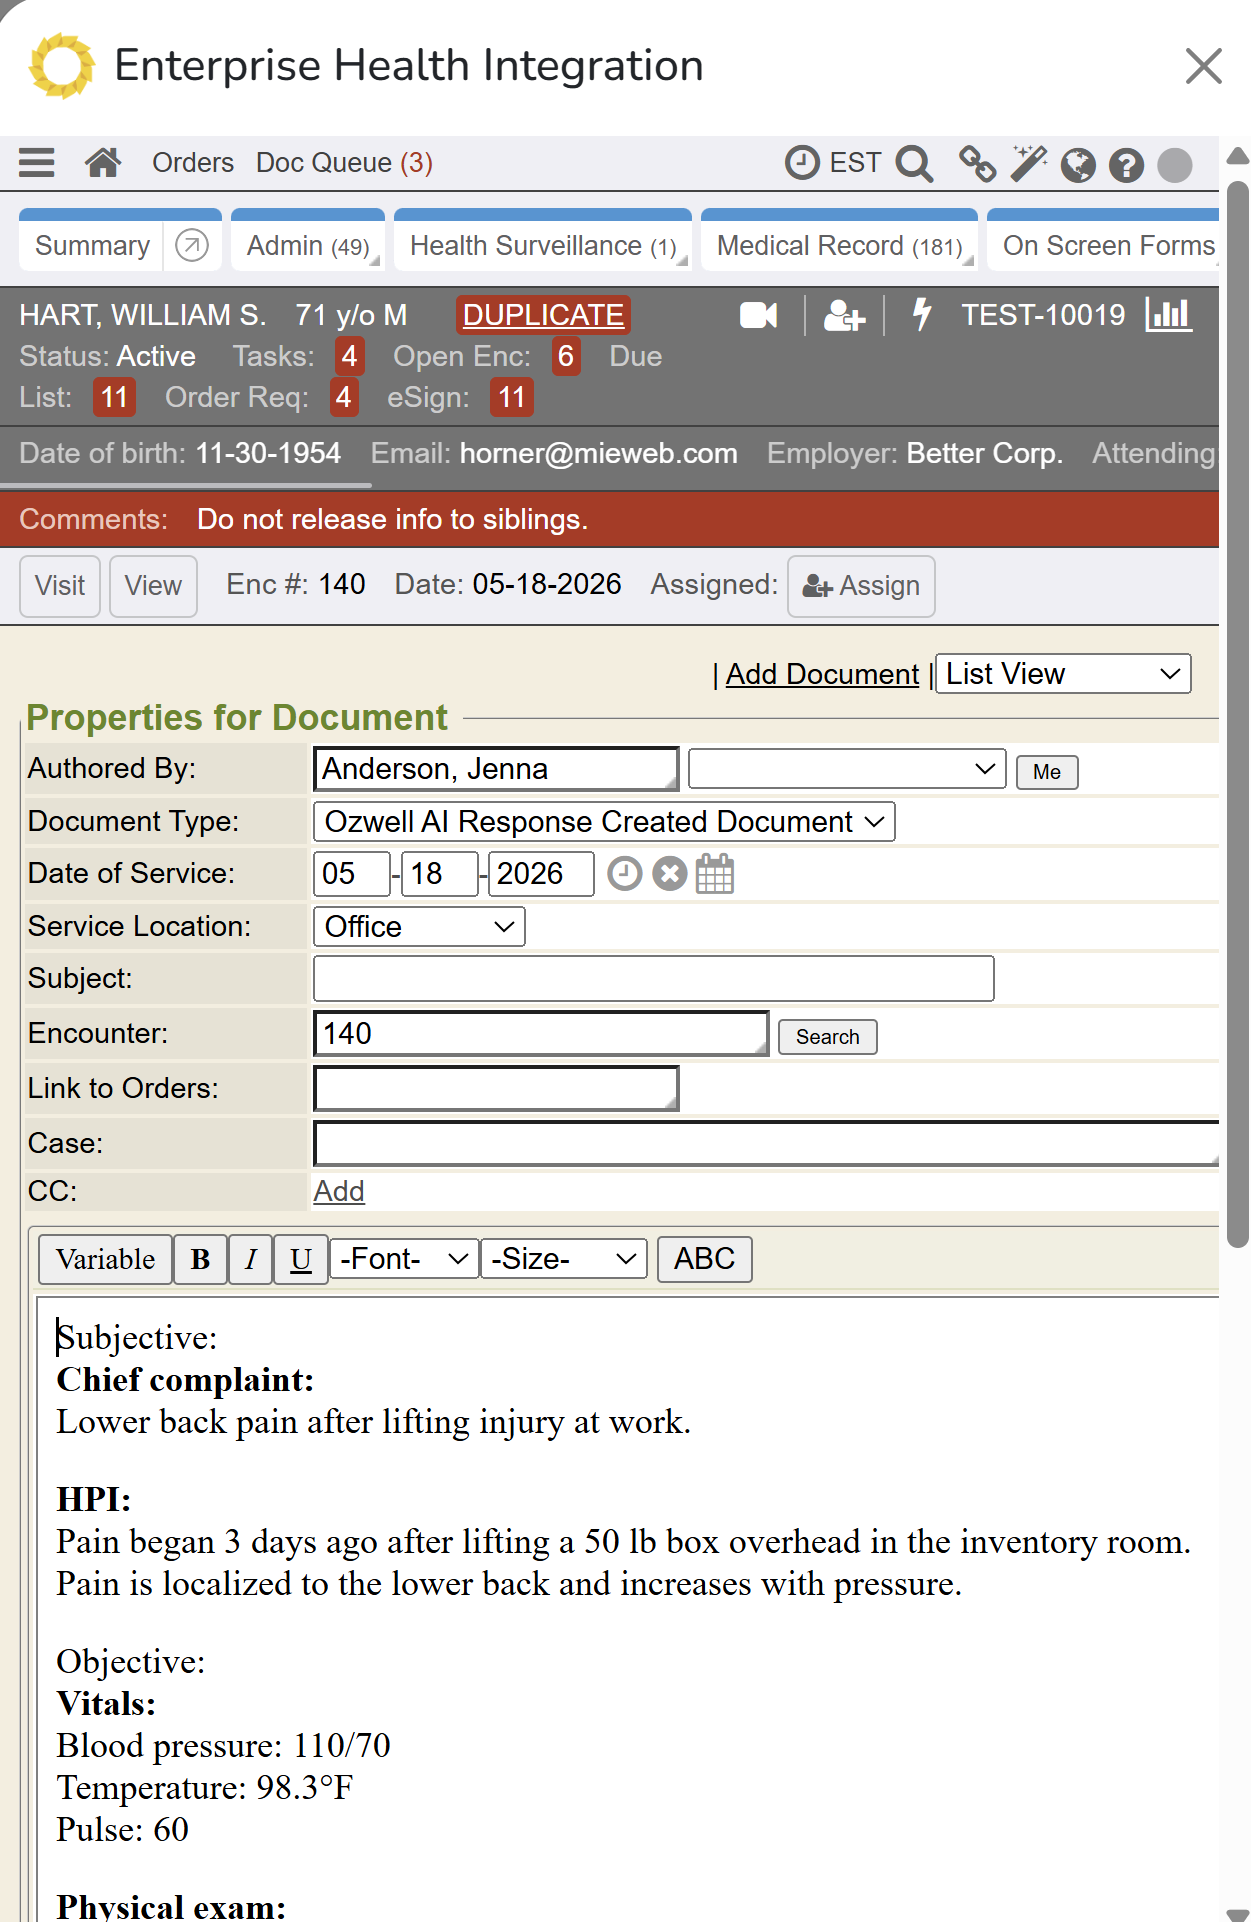
- Click the Enterprise Health icon and select Create Document.
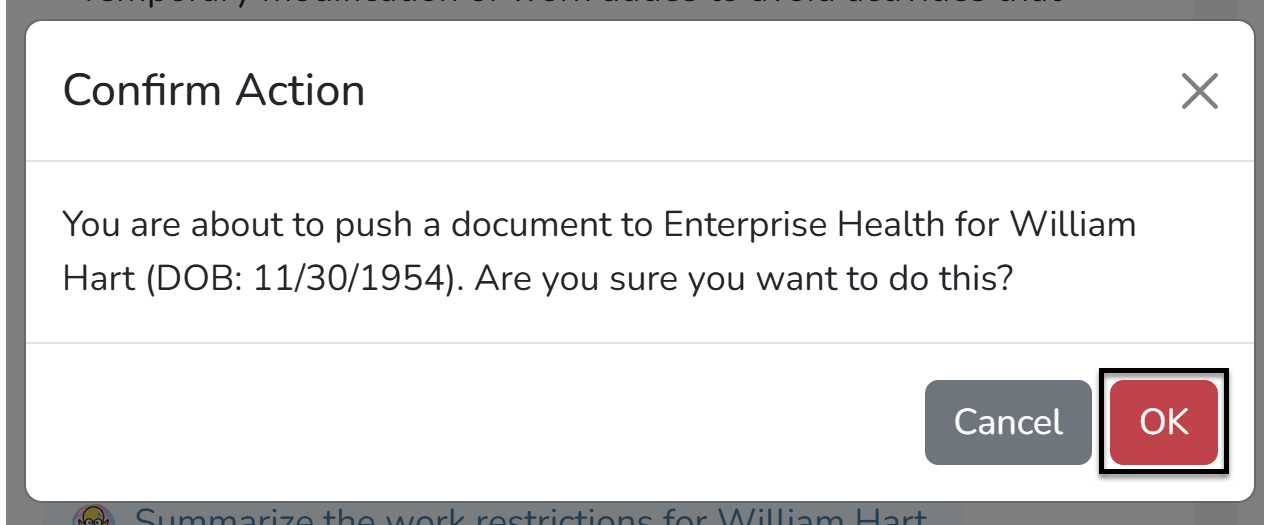
- Confirm the action when prompted. The document will be added to the chart and opens in Edit mode.
- Edit the document as needed, including changing the document type (ensure HTML format is enabled for document types you want to use with AI).
- Save the document when finished
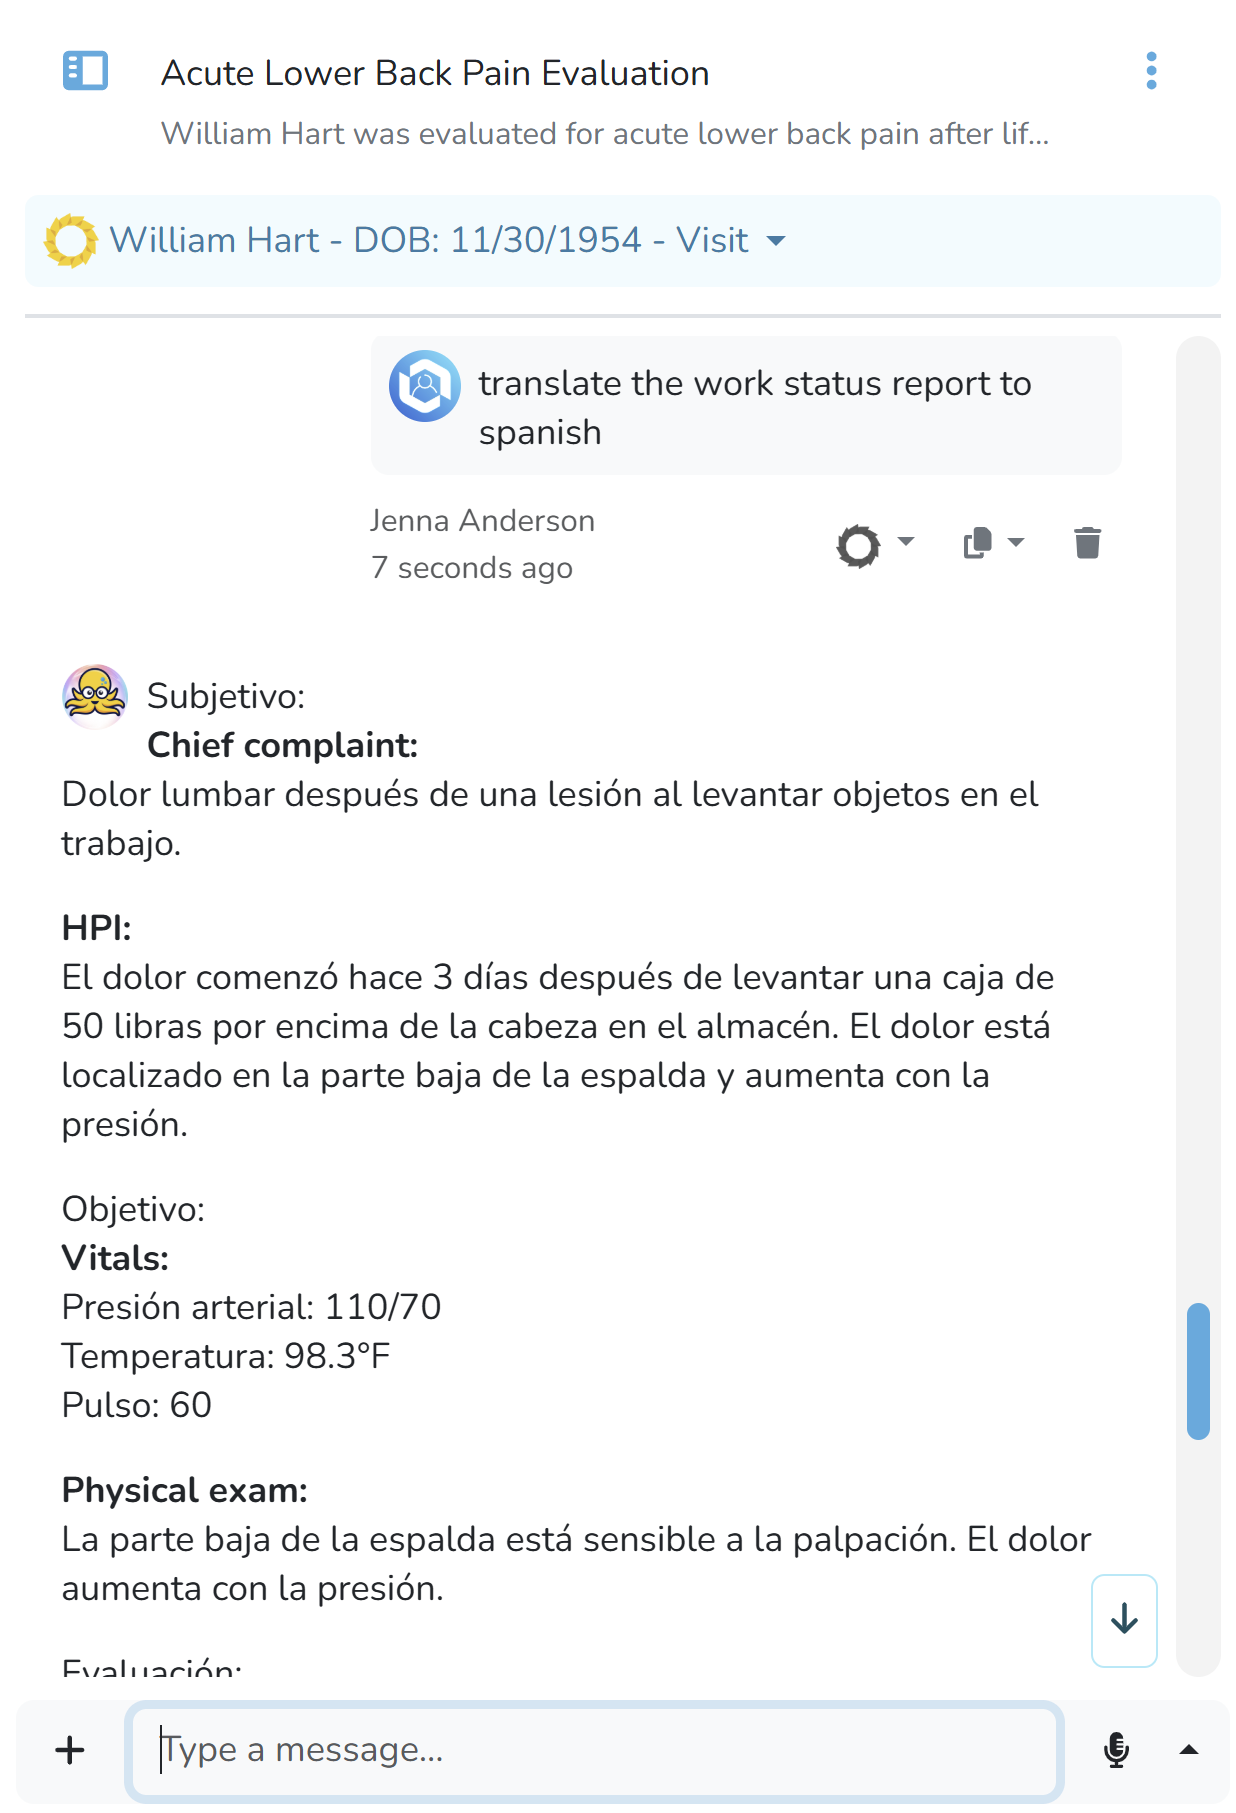
- If needed, ask Ozwell AI to translate the document and Save the translated document.
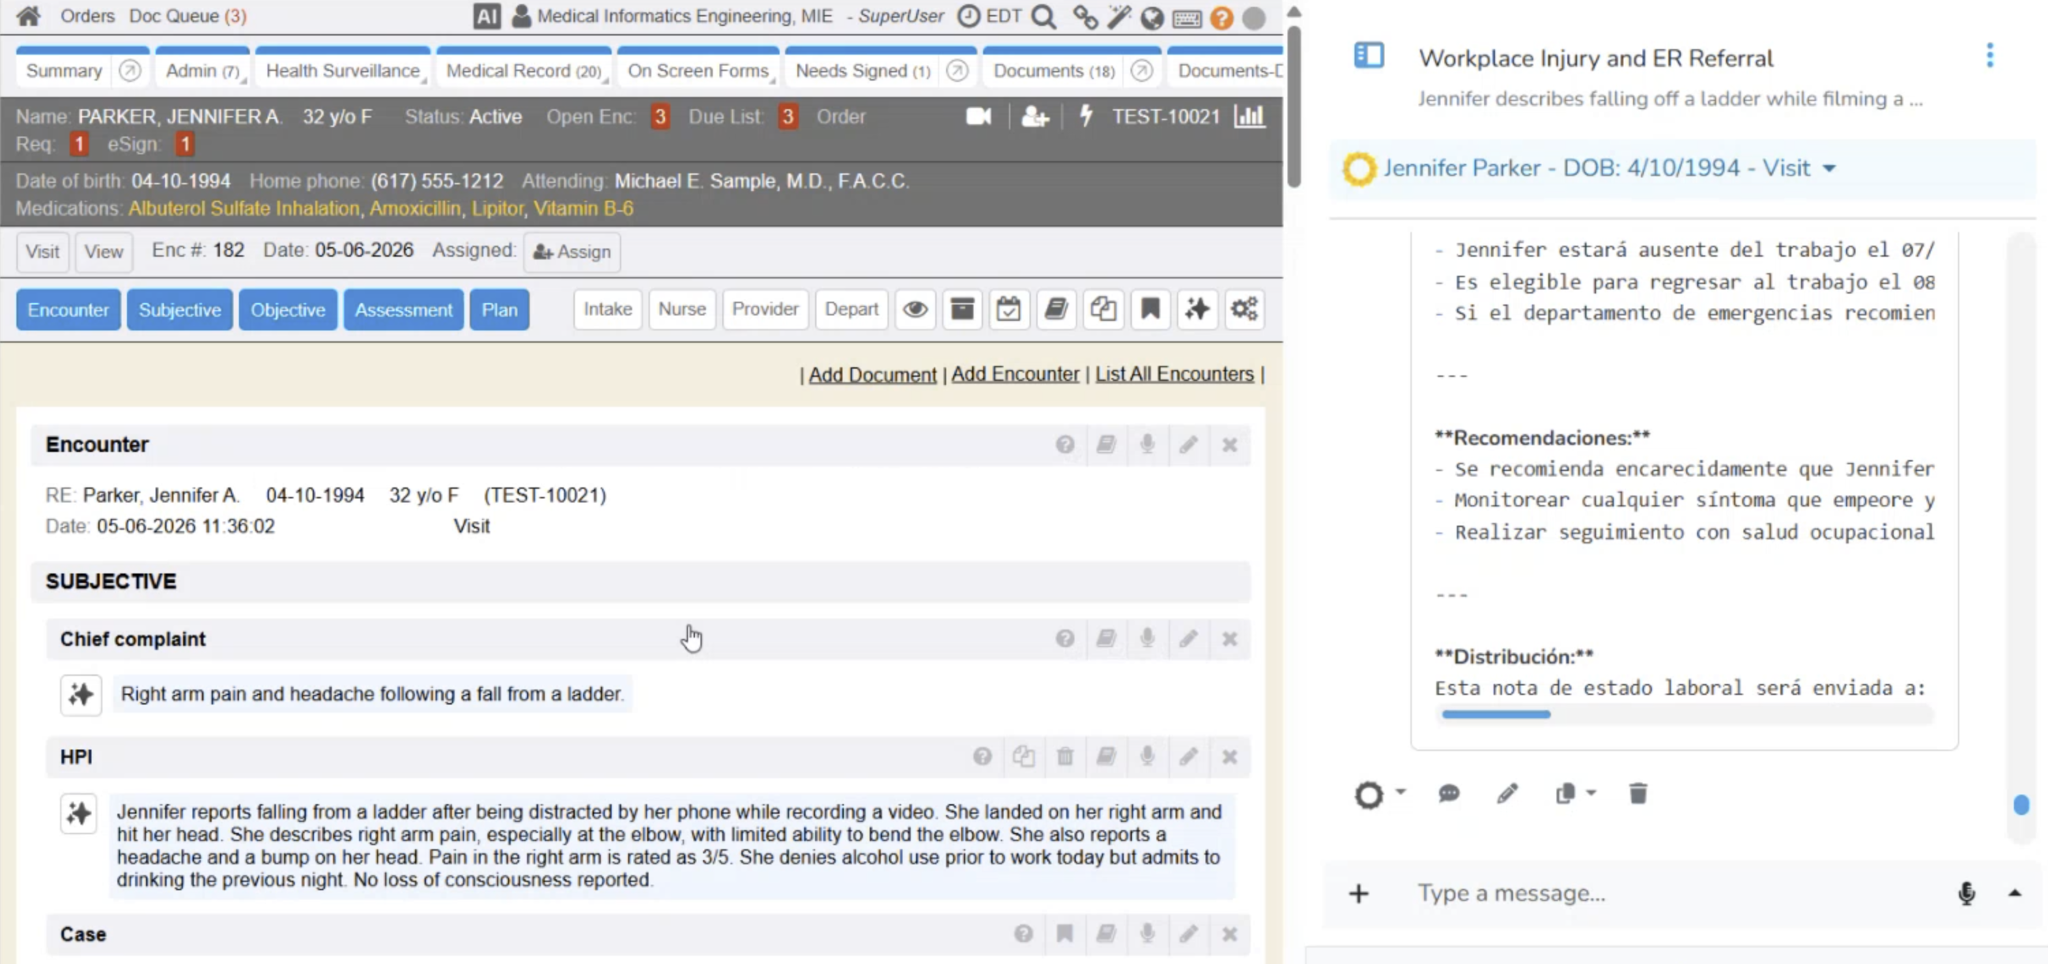
- Refresh the Encounter by clicking on the Visit button to see which sections were updated by Ozwell AI. These sections will have a sparkly icon and be highlighted in blue.
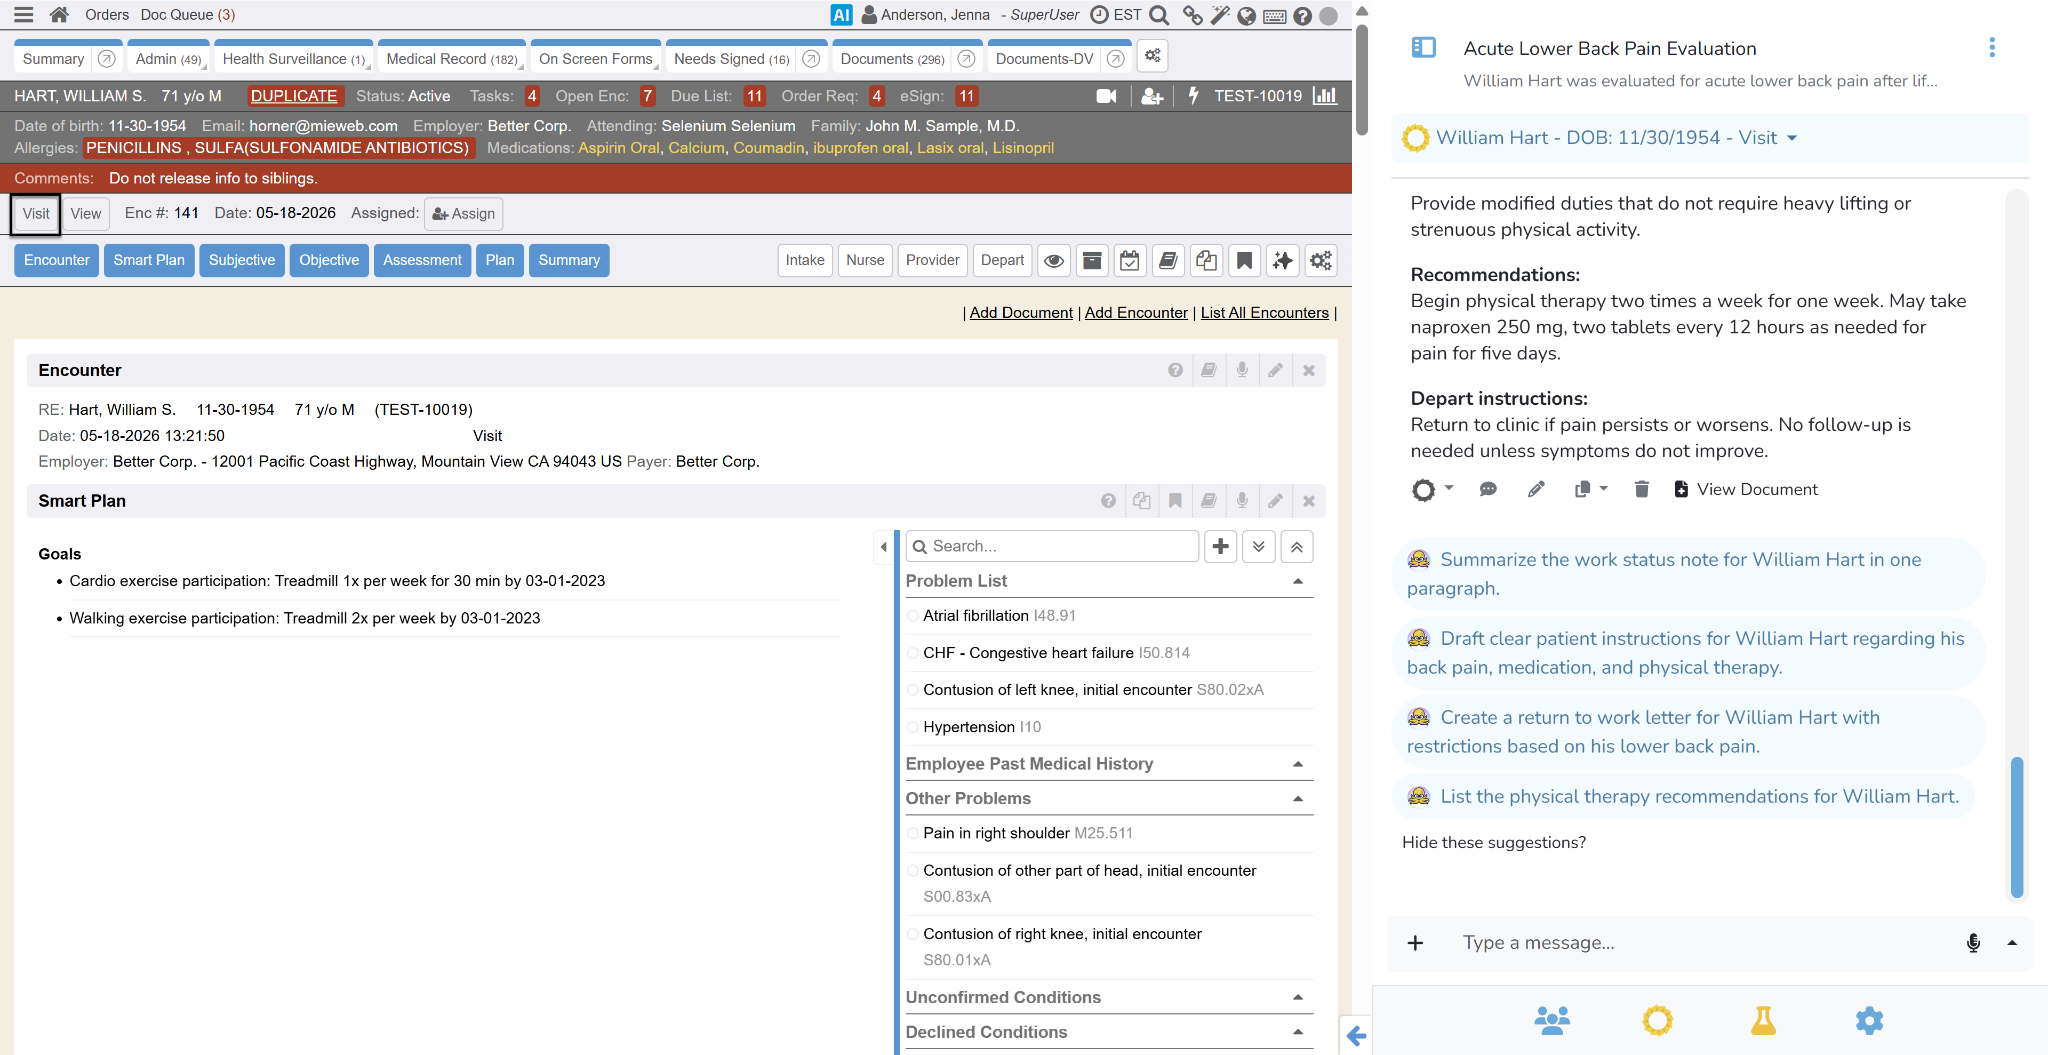
- Review each section and edit as necessary. These sections will have a sparkly icon and be highlighted in blue.
- Confirm sections individually or use the Confirm All option. Unconfirmed sections must be confirmed prior to closing the Encounter.

- Click the Archive and Close button once all sections are confirmed.
Additional Information about Ozwell AI
When utilizing Ozwell AI, the system will only denote that AI was used when documenting the encounter until the user confirms the entries. This review process is required to Archive and Close the Encounter. To track AI generated documents, ensure the HTML option is selected for each Document Type.