
The Enterprise Health system is designed to allow email templates to be created within the Document Types Editor, as needed.
Email HTML Template Editor within Document Types
To create a new email template, go to Document Types within the Control Panel. Add a new Document Type or edit an existing document type. When adding the document type, select Patient and/or Appointment checkbox.
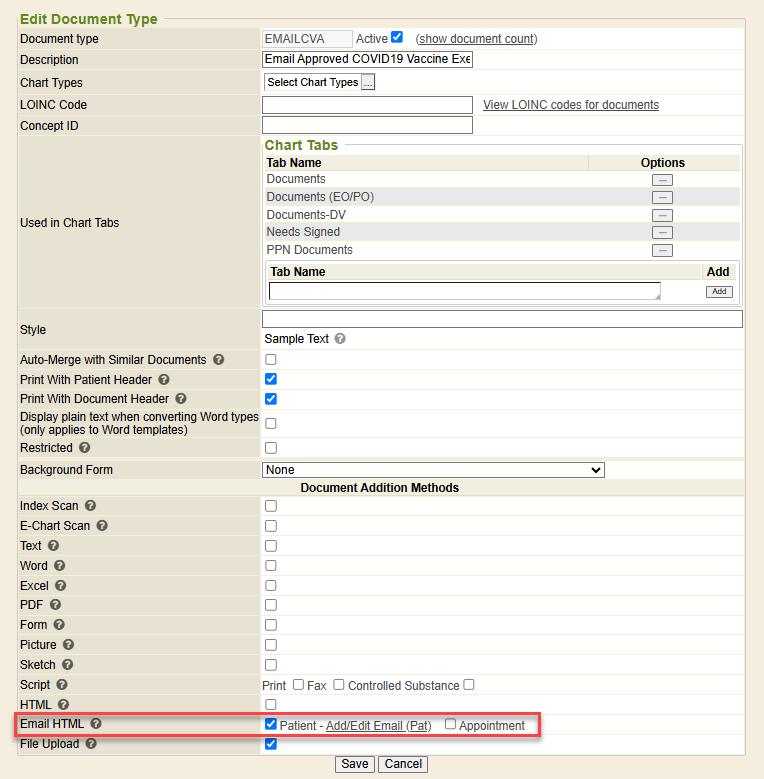
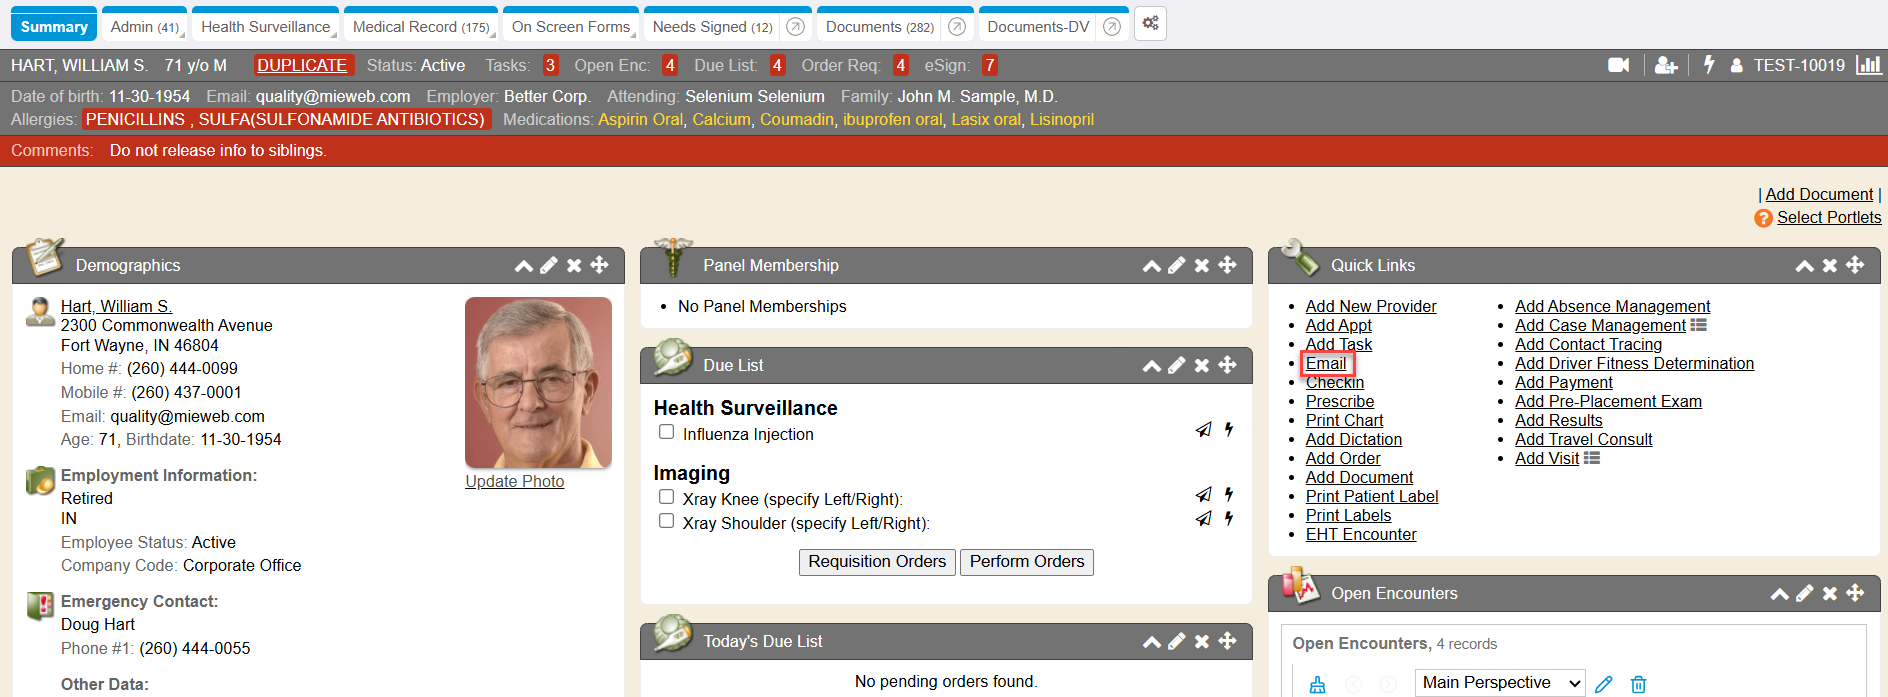
The Patient selection will display the email template you are creating in the Quick List Email option from the Patient chart. The email template will display in the Template dropdown list.
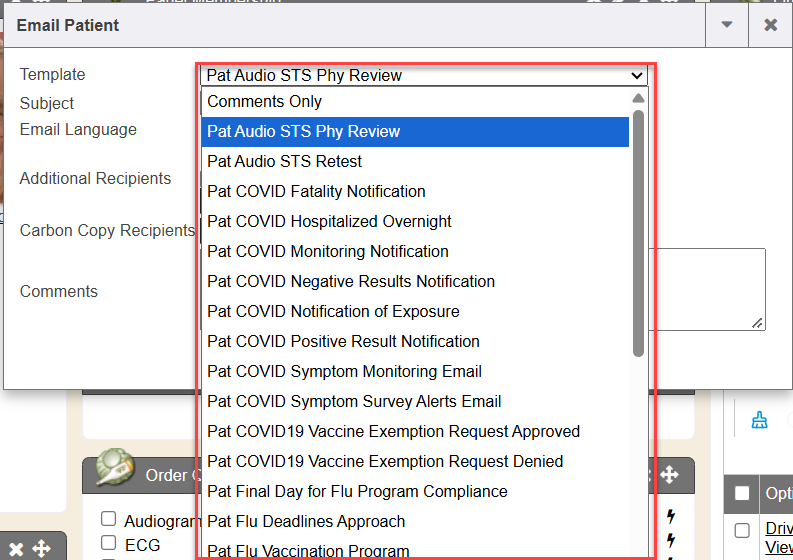
The Appointment selection will display the email template you are creating in the Email Patient or Email Template dropdown within the Scheduler.
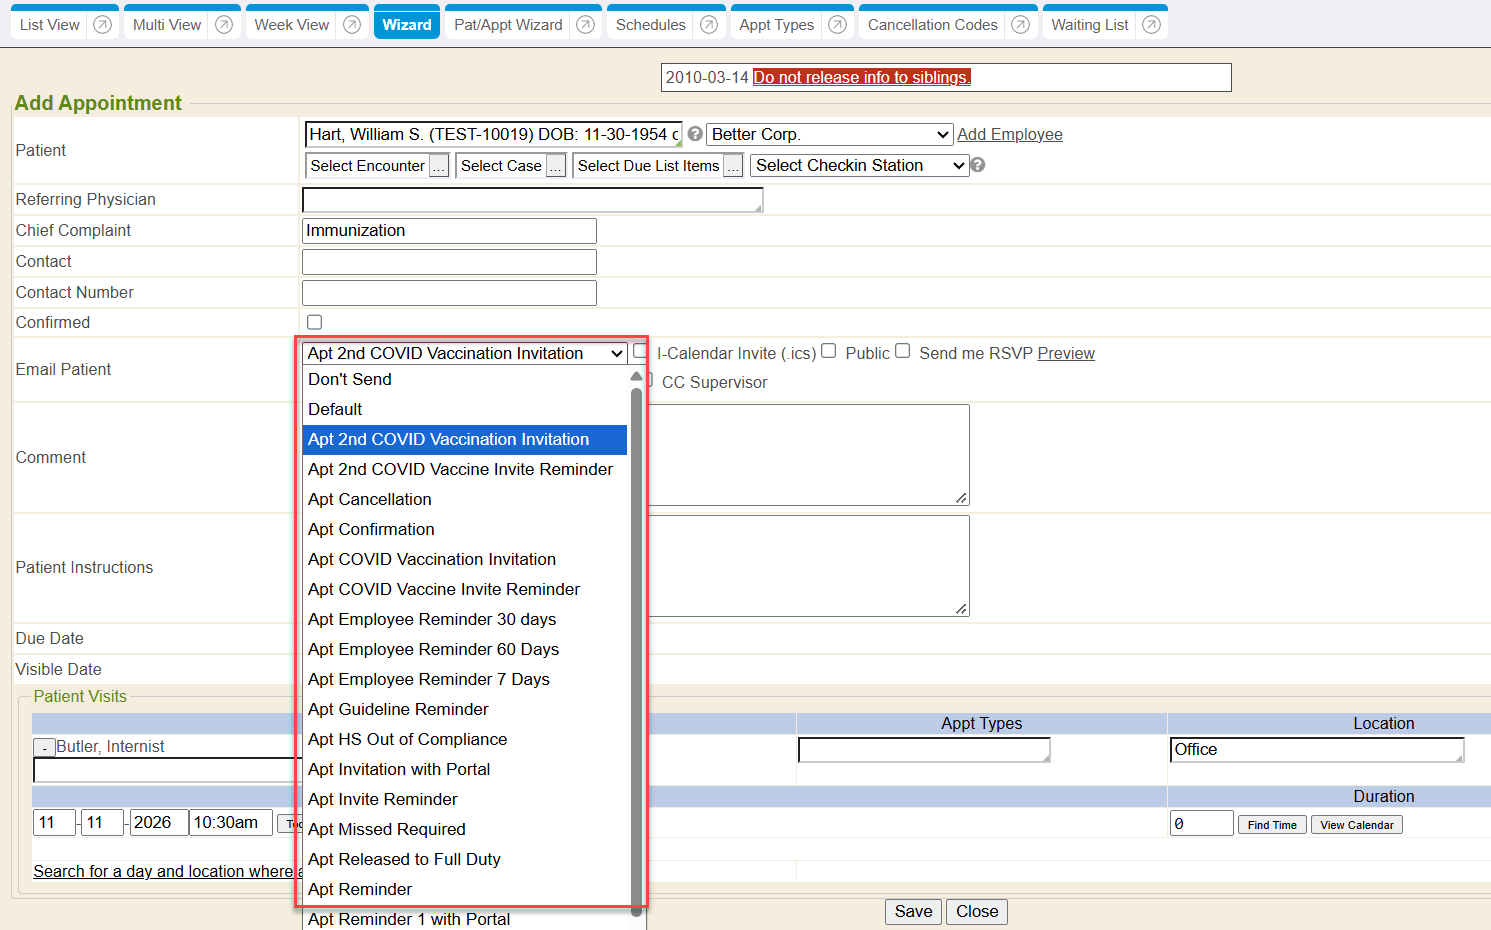
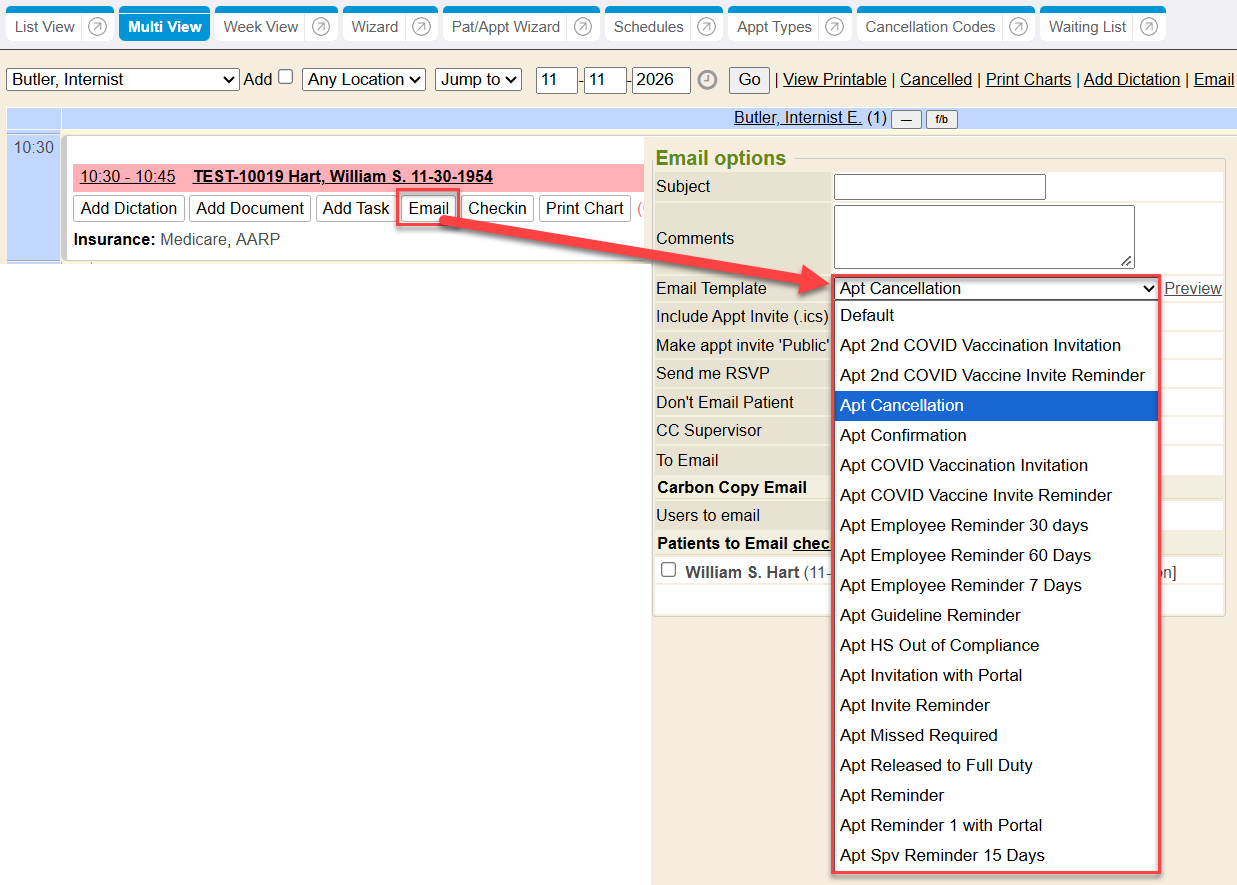
Click on Add Email (Pat), Add Email (Appt), Edit Email (Pat), or Edit Email (Appt) from the Document Types tab or click on Add/Edit Email (Pat) or Add/Edit Email (Appt) within the Edit Document Type. This will open the HTML Editor to create your template.

Once in the HTML Editor, begin creating your template.
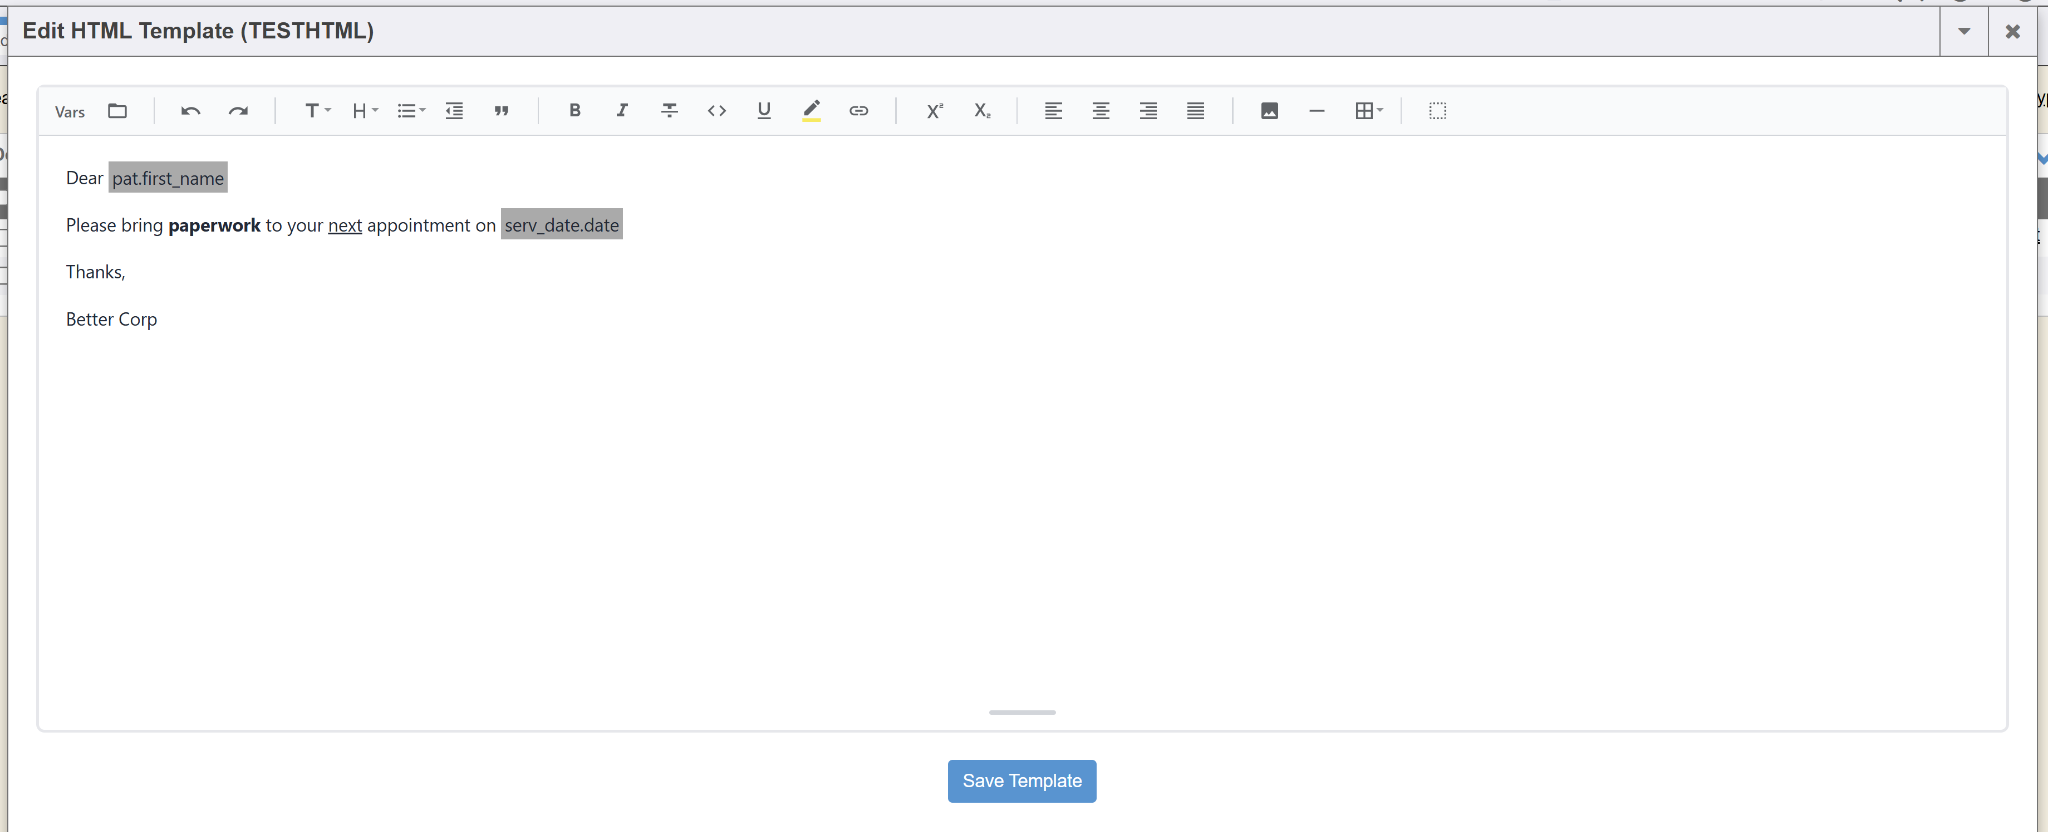
Vars: These are the different variables or attributes that can be added to your template. When you go to Add Document and open up an HTML document with a template, the variables will be filled in with the appropriate data.
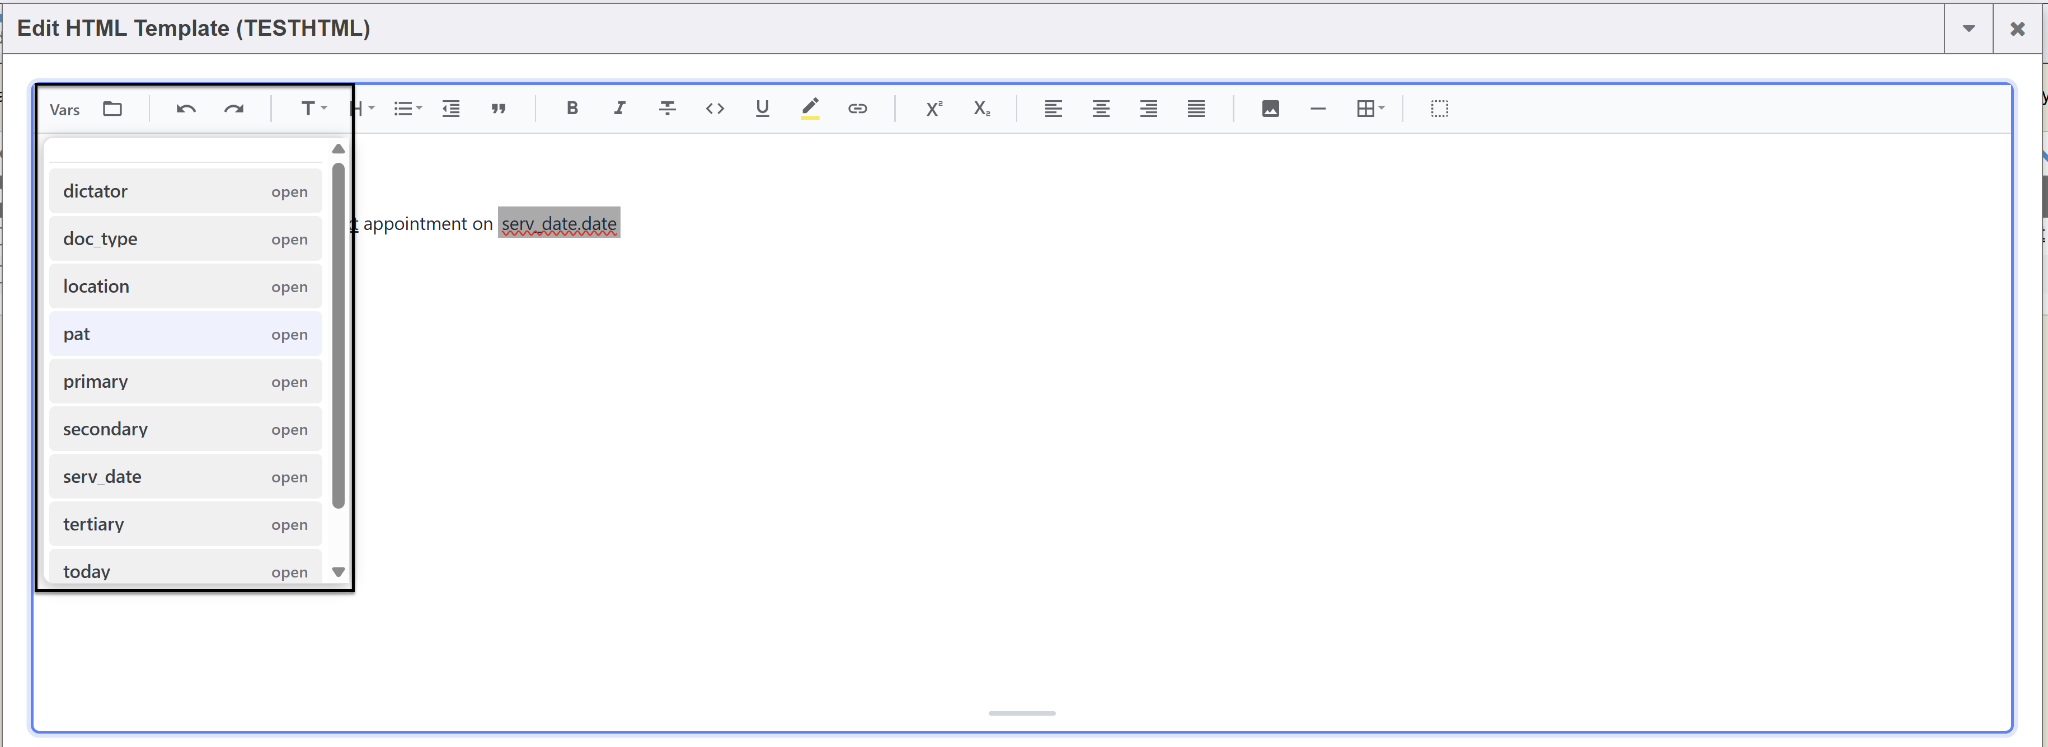
When you click on a Variable, additional options may appear. For example, if you click on pat, additional variables about the patient will appear such as the patient’s first name.
There are different options within the editor to allow for formatting your template. To format your template use the following:
- Undo/Redo: The forward and backwards arrows are to redo or undo a previous item.
- Type: This is the “T” icon. The options will appear in a dropdown.
- Heading: This is the “H” icon. A user can create different headings for the template.
- List: This is the bulleted pointed list icon. A user can add bullet points to create a list.
- Bold: This is the B icon. Text can be made bold, if needed.
- Italicised: This is the I icon. Text can be made italic, if needed.
- Strikethrough: This is the T with a line through it icon.
- Underline: This is the U icon.
- Highlight: This is the marker with the yellow line underneath it icon.
- Link: This is the sideways paperclip icon. A hyperlink can be added to the template for a user to follow.
- Left, Center, Right and Justified: These options allow a user to have the text align in a certain way, either left, center, right or justified.
- Insert Image: This is the picture icon. This allows for a user to add an image to the email HTML template, such as a logo.
- Table: This is the grid icon. A user can add a table to their email HTML template to organize data clearly.
Once the template has been created. Click the Save Template button.